
Written by My Pet Air Travel from the crates we modify before our clients' pets fly. Most crates need nothing more than labels and water bowls. Some need work, and this guide covers the two jobs that come up most: adding ventilation, and covering openings with mesh.
Airline staff check two things about a crate's openings. There must be enough of them — ventilation on all four sides — and they must be small enough that your pet cannot push a nose or paw through. A crate that fails either check is refused at the cargo counter, so it is worth an hour with zip ties the week before.
At a glance
| Ventilation | Required on all four sides of the crate |
| Largest opening allowed | 25 x 25 mm (1 x 1 inch) for dogs; 19 x 19 mm (3/4 x 3/4 inch) for cats |
| When to add mesh | Vents bigger than that, or any opening your pet can get a nose or paw through |
| Plastic mesh | Quick and light; fixed with zip ties. Good for most dogs and cats |
| Metal mesh | For chewers and strong dogs; bolted on with flat washers, edges taped |
| Time needed | About an hour, with the parts in hand |
When a crate needs more ventilation
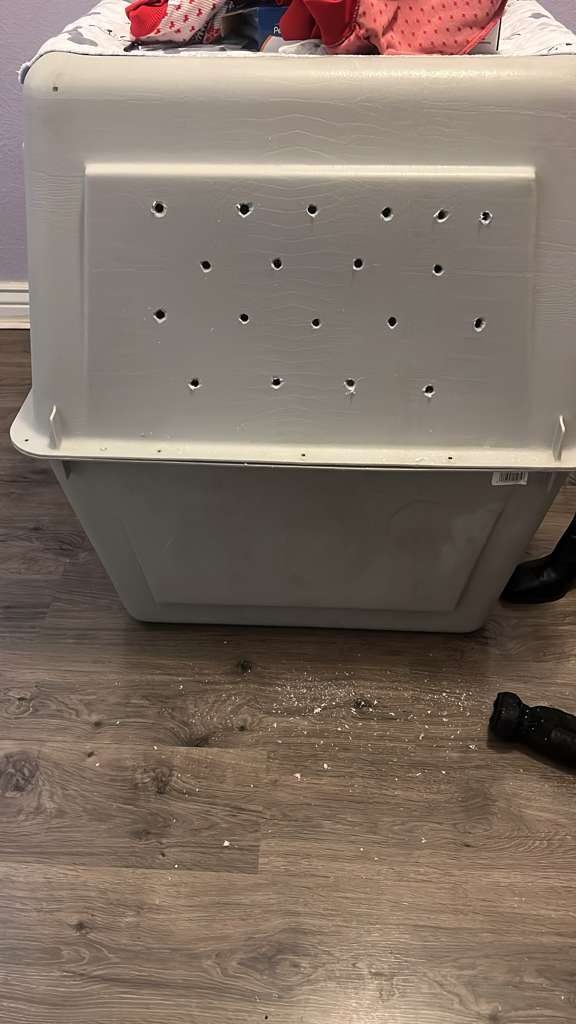
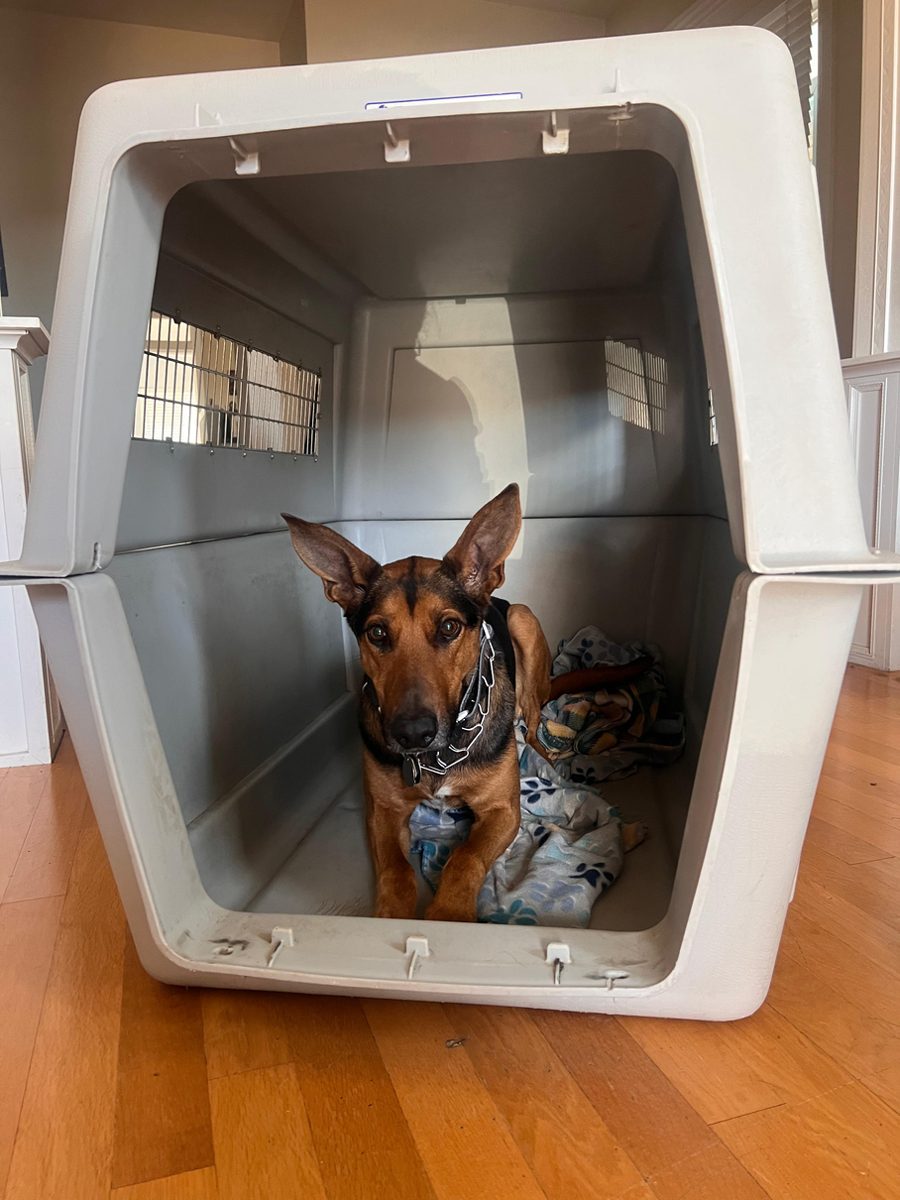
Most airline crates have vents on both sides and a wire door at the front. Some models, and many older crates, have a solid back — and the airline requires ventilation on all four sides. The fix is to drill holes in the back panel, in the upper half of the crate.
- Drill holes big enough to let air through, but no more than an inch across.
- Spread them across the upper part of the back panel rather than bunching them in one place.
- Smooth any sharp edges so your pet cannot catch a paw or lip on them.
When a crate needs mesh
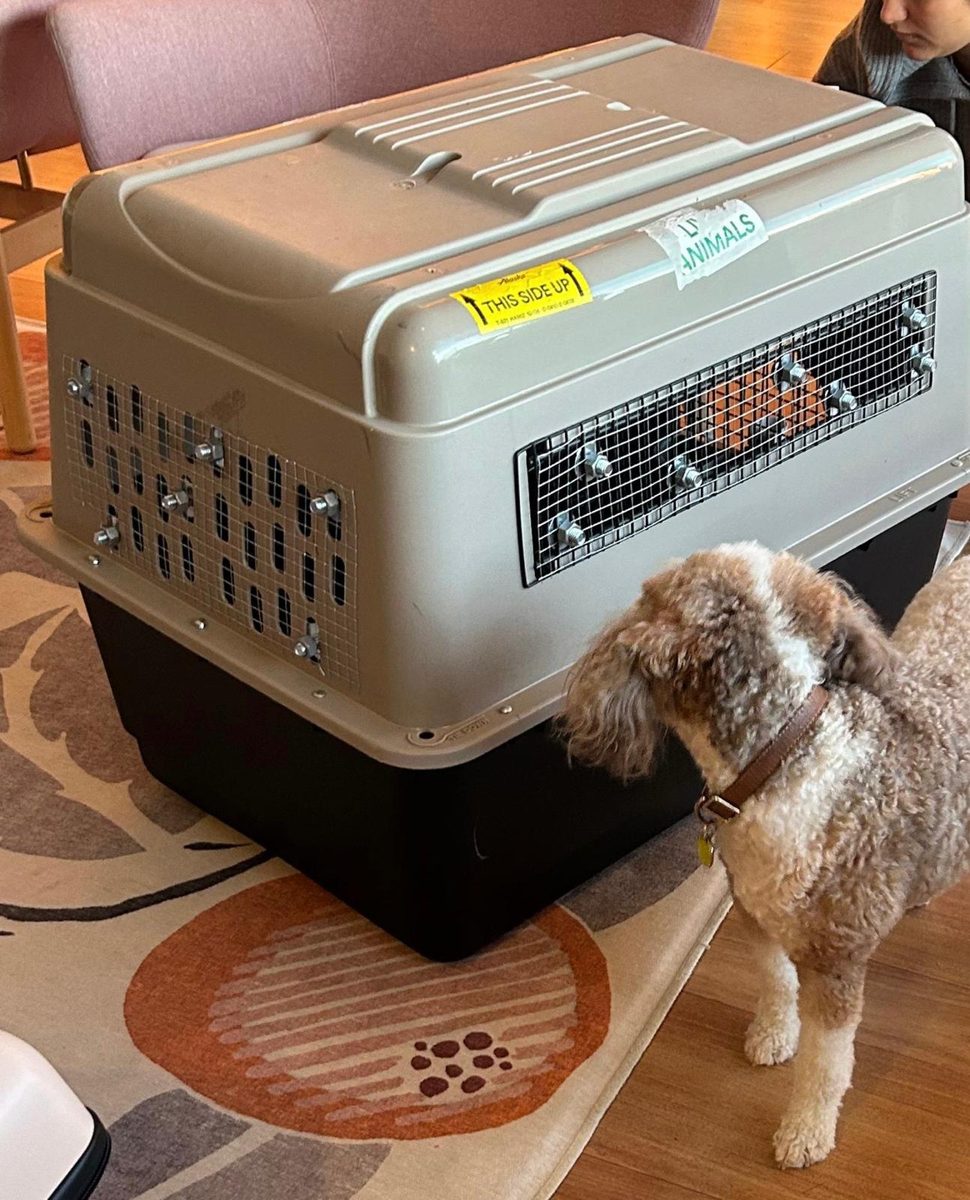
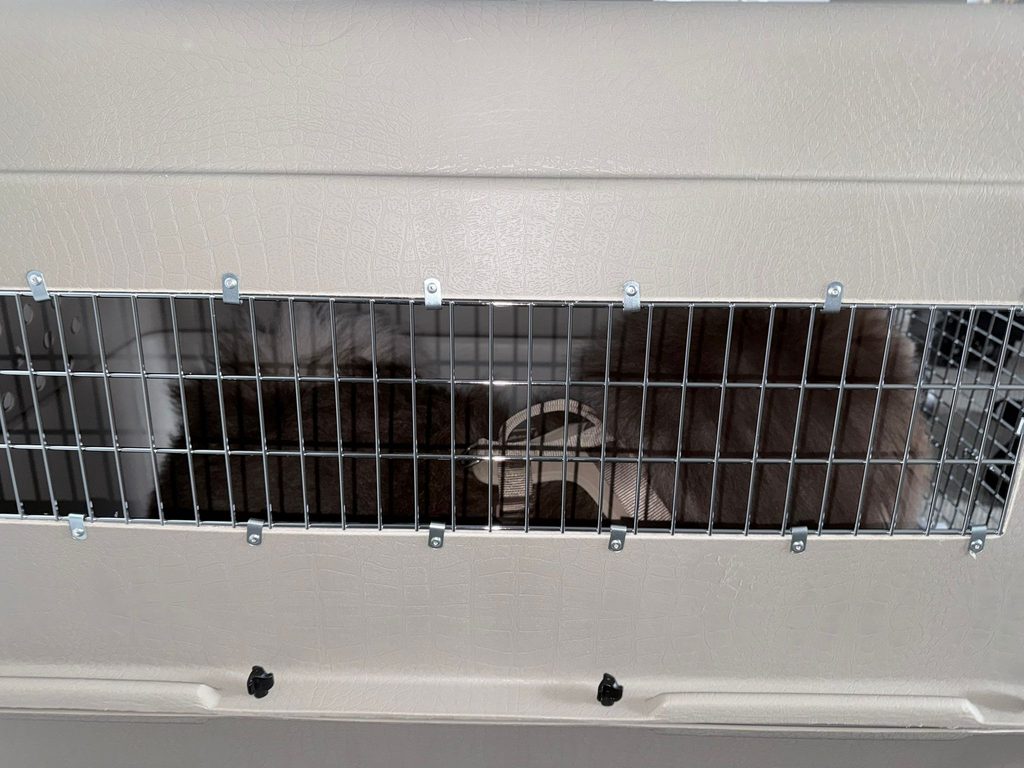
Mesh goes over any opening your pet could push a nose or paw through: side vents larger than the limit, a wire door with wide gaps, or holes that were drilled too big. It also stops a determined chewer from working at the edges of the vents.
Option 1: Plastic mesh (most pets)
Plastic poultry mesh is light, cheap and quick to fit with zip ties. It is what we use on most crates.
Side and back vents
- Measure and cut. Hold the mesh against the outside of the vents and cut a piece that reaches 1 to 2 inches past the holes on every side.
- Position. Lay it flat over the outside of the vent holes.
- Secure. Thread zip ties through the mesh and the crate's own holes around the edge, every 3 to 4 inches, and pull them tight.
- Trim. Snip the zip-tie tails close to the locking head.
The front wire door
- Measure and cut. Lay the mesh over the wire door and cut it to fit the metal grid. Make sure it does not cover the locking pins or the latch.
- Secure. Zip-tie the mesh tightly to the door bars, especially at the corners and outer edges.
- Test. Open and close the door. The latch must lock cleanly without catching on the mesh — airline staff will open it at check-in.
- Trim. Cut the zip-tie tails completely flush so nothing sharp points inward.
Option 2: Metal mesh (chewers and strong dogs)
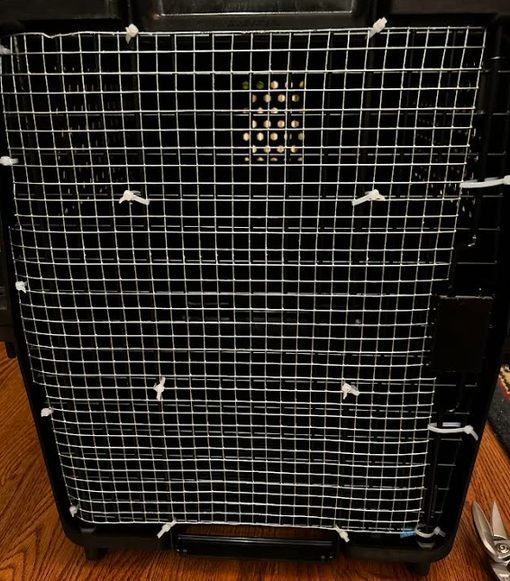
For a dog that chews or pushes hard at the vents, use galvanised metal hardware cloth instead of plastic.
- Cut the metal mesh to cover the vents with an inch or two of overlap, using wire cutters.
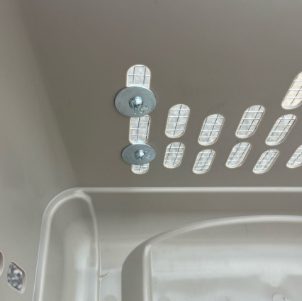
- Fix it with metal nuts and bolts through the crate wall, each with a flat washer so the mesh cannot pull over the bolt head.
- Tape over the cut edges of the mesh so there are no sharp wire ends.
- Cover the door the same way, keeping the latch and hinge pins clear.
Vents that are too big: add metal rods
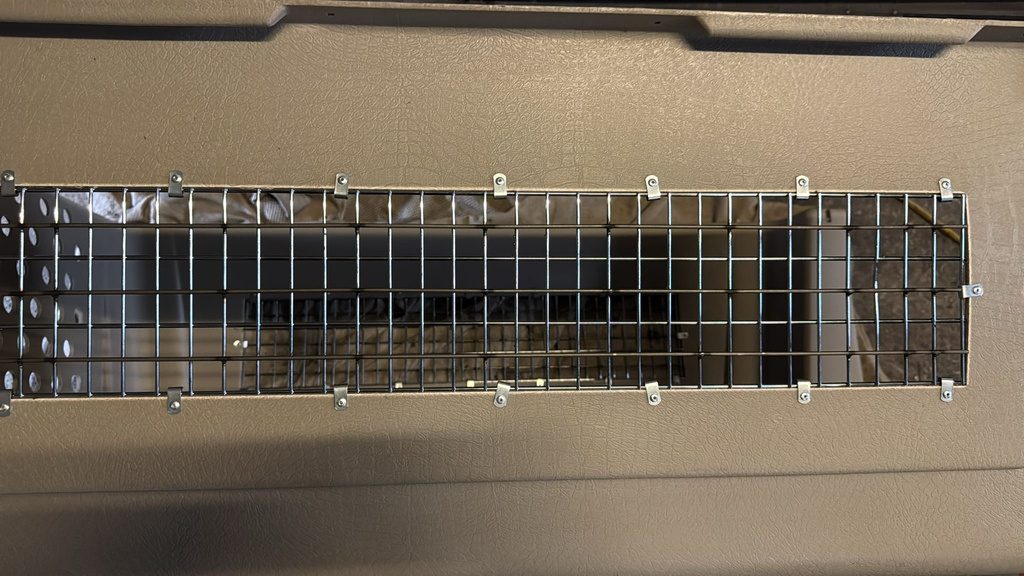
Some crates have long vent slots that are wider than the airline allows. Short of meshing them, you can bolt lengths of plain steel round rod across the slots so no gap is wider than the limit.
Parts and tools
You can find all of this at a hardware store or online:
- Plastic poultry mesh, sold in rolls (a 16 in x 10 ft roll covers most crates)
- Galvanised metal hardware cloth, about 1/2-inch grid, for chewers
- Heavy-duty cable ties (zip ties) — buy extra; spares go on the crate for after the security check
- A metal nut, bolt and flat washer set
- Plain steel round rod, for oversized vents
- Wire cutters
- Duct tape, for metal mesh edges
Before you fit anything
Send us a photo of the crate — front, side and back — before you buy parts. We see a lot of crates, and we can usually tell you in a minute whether it needs mesh, drilling, an extender or simply a different model. If you have not chosen a crate yet, start with how to choose and size an airline crate, and when it is modified, finish with how to prepare the crate.