
Written by My Pet Air Travel. This is the crate preparation sheet we send every client a few weeks before their pet flies, expanded with the reasons behind each rule and photos from our own shipments.
A correctly sized crate is only half the job — if you have not chosen one yet, start with how to choose and size an airline crate. The other half is how it is set up: how your pet drinks during a long journey, what they lie on, how the crate is labelled so every handler knows what is inside, and what travels on top of it. Airlines check all of this at the cargo counter.
At a glance
| Water | Two containers fixed to the inside of the door, filled and frozen the night before |
| Bedding | Cardboard or a puppy pad on the floor, plus an unwashed towel or blanket that smells of home |
| Labels | Live Animals stickers, This Way Up arrows, and the identification and feeding label on top |
| On top of the crate | Leash and collar, a day of food, and copies of the documents, each in a taped zip-lock bag |
| Never inside | High-sided beds, loose bowls, toys that can break, sedatives |
| Hardware | Top and bottom bolted with metal nuts and bolts, door zip-tied at the corners |
1. Start with the right crate
The crate must be hard-sided, non-collapsible, with a solid top and bottom, no opening in the roof, and no wheels. Slide-locking side fasteners are not accepted: airlines require the top and bottom to be joined with metal nuts and bolts. Most airline crates come with metal nuts covered in black plastic, which are fine; if yours are plastic, buy metal ones and replace them. Smaller crates should have a carrying handle where possible.
Your pet must be able to stand up and turn around, with about 3 inches above the head when standing naturally, and lie down without tucking in the front legs. If the length is right but you need more headroom, we can supply a height extender for Extra Large and Giant crates.
2. Water: two bowls on the door, frozen
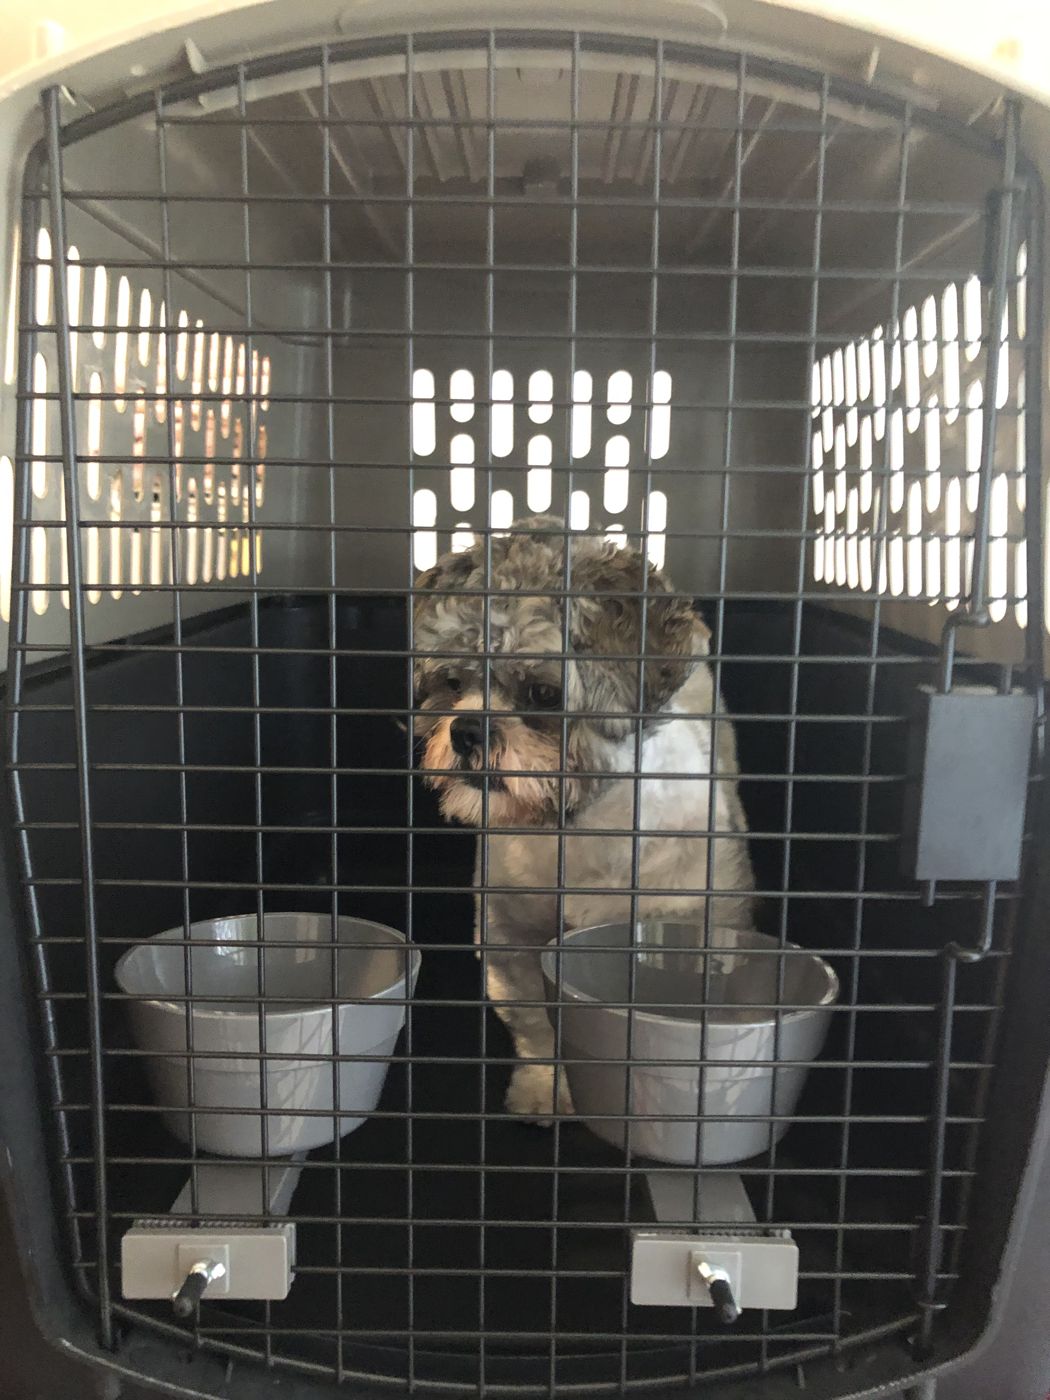
The small bowls that come with most crates are too small for an international journey. Airlines require water containers fixed to the inside of the door, where staff can refill them from outside without opening the crate. Collapsible bowls are not accepted.
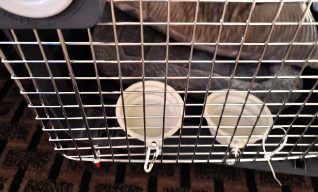
- Buy two sturdy plastic food containers, sized so both fit side by side on the crate door.
- Cut two slits just below the rim, about 1/2 to 1 inch from each end.
- Thread a zip tie through each slit and fasten the containers to the door grille.
- The night before the flight, fill them with water to just below the zip ties and freeze them. Ice cubes work too.
Frozen water melts slowly, so your pet has water through the journey without drinking a full bowl at once, and nothing spills during loading, take-off or landing. If your pet chews plastic, use aluminium buckets clipped or zip-tied to the door instead.
3. Flooring and bedding
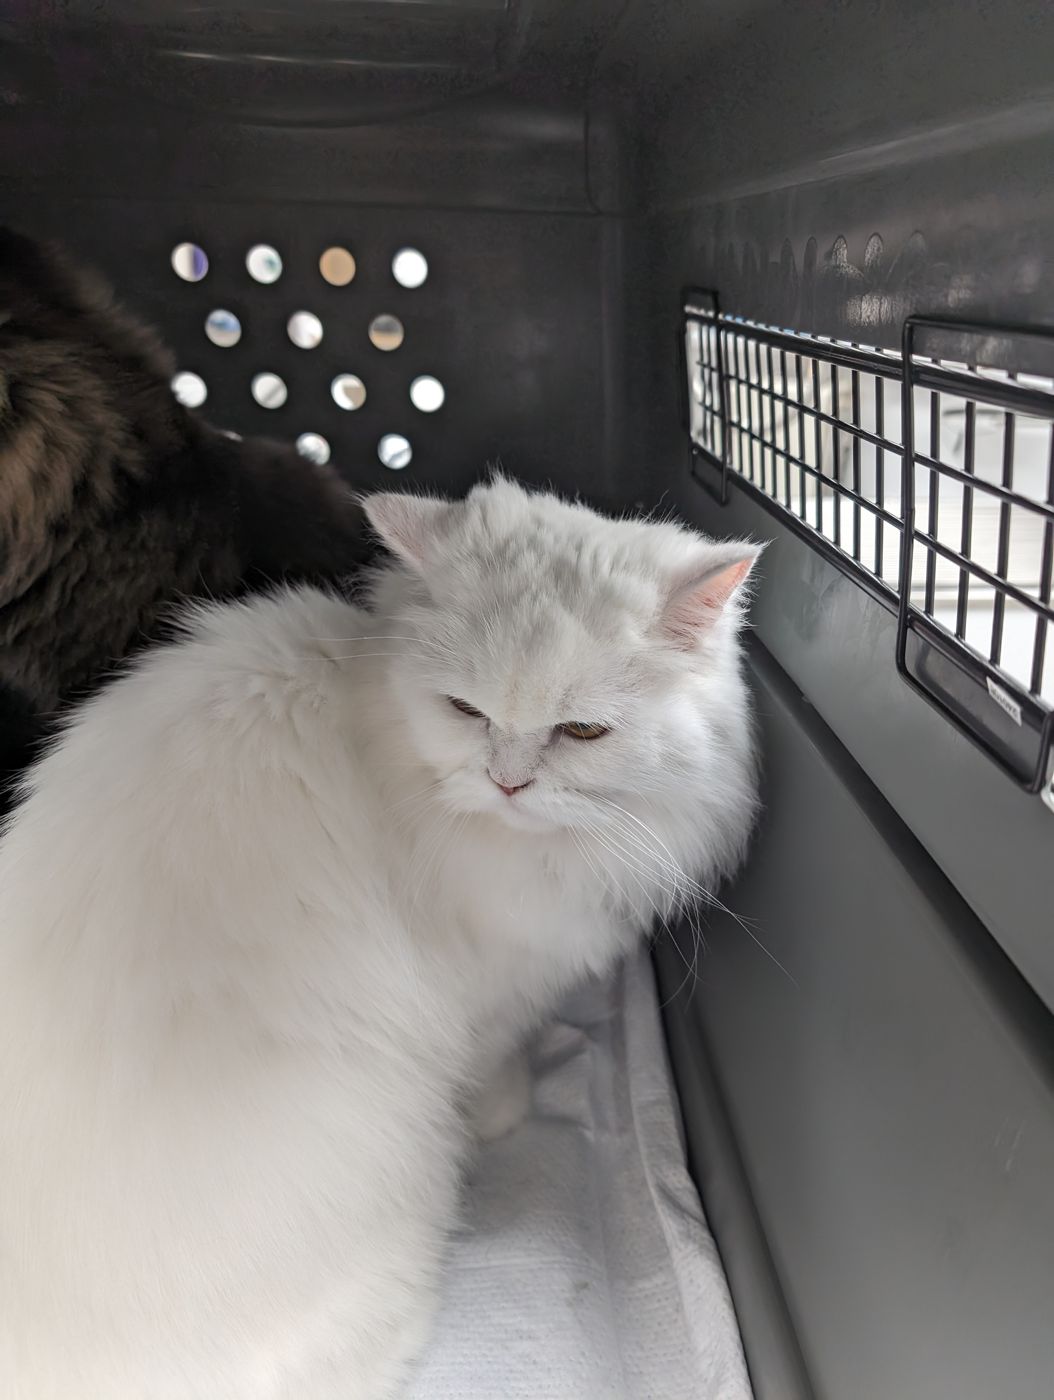
Put a piece of cardboard or a puppy pad on the floor of the crate. It cushions, and it keeps your pet dry. A regular dog bed is fine only if it lies completely flat: high-sided beds are not allowed, both for security screening and because they take up headroom. If your pet chews, skip shredded paper.
Add a towel, blanket or old T-shirt your pet knows. Handle it for a few days and do not wash it — the familiar smell is the most comforting thing in the crate.
4. Ventilation on all four sides
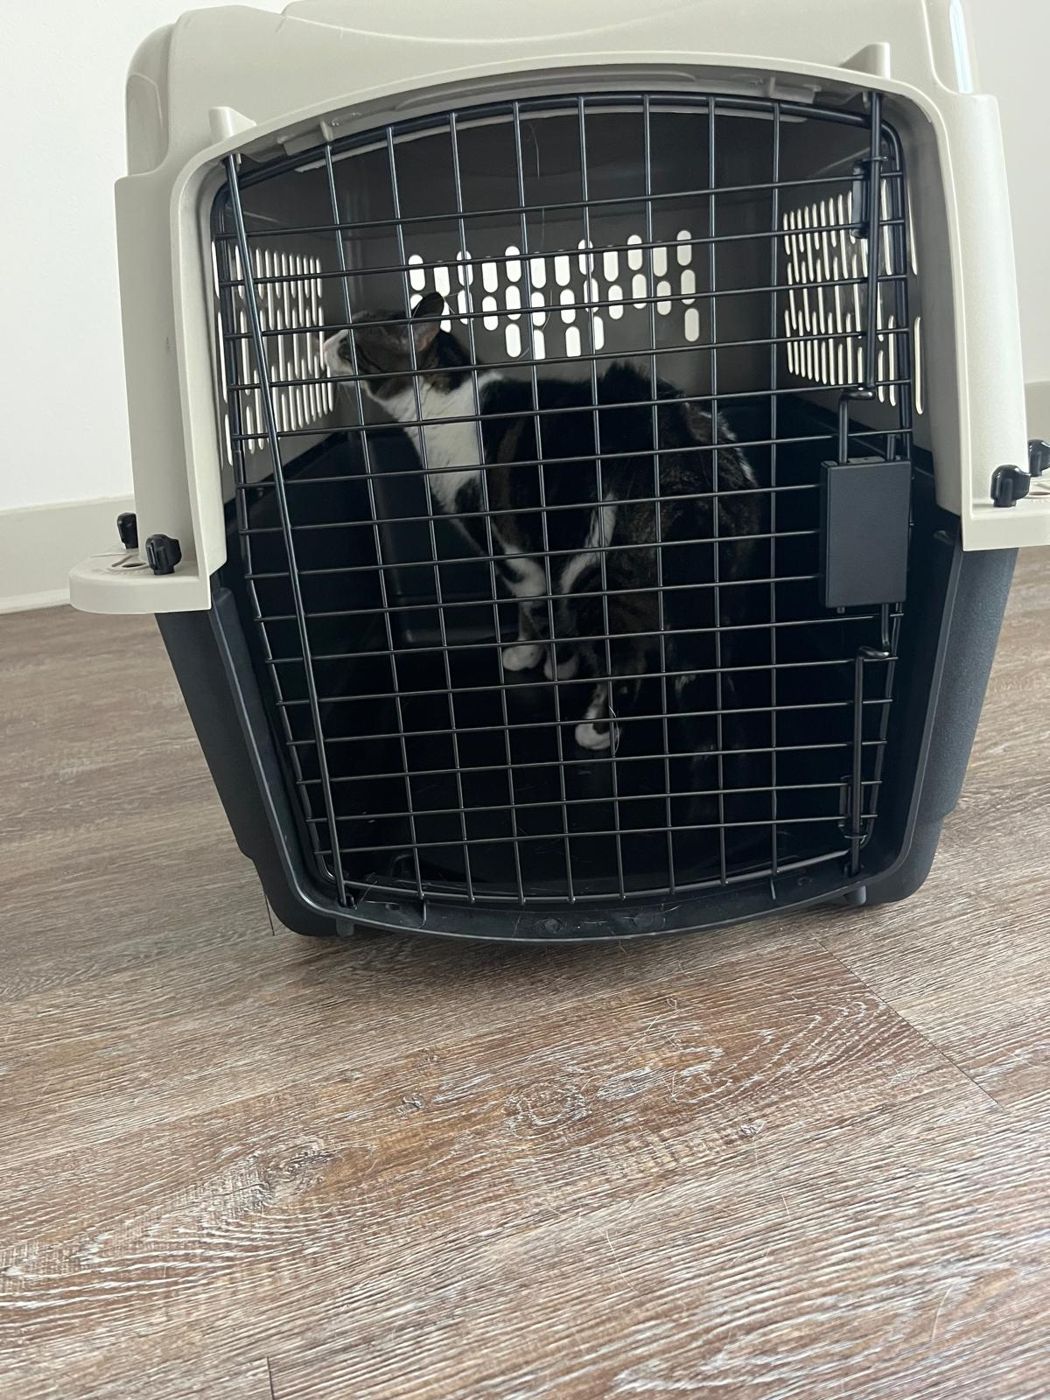
The crate must be ventilated on all four sides. Most airline crates have vents on each side and a wire door at the front, but some have a solid back; if yours does, holes must be drilled in it. Where a crate's vents are larger than the airline allows, or your pet can get a nose or paw through them, they need covering with mesh. Both jobs are covered step by step in our crate mesh and ventilation guide.
5. Labels: how to mark the crate
Every handler between your door and your destination needs to know at a glance that there is a live animal inside and which way up the crate goes.
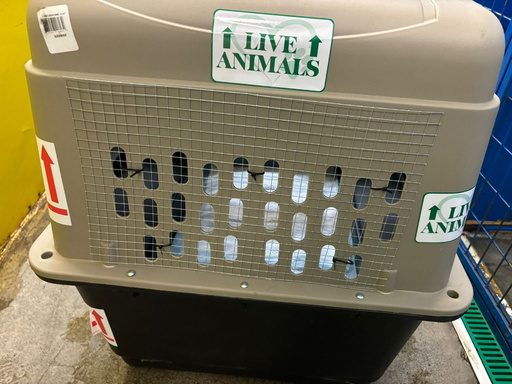
- This Way Up arrows (red and white): on the right front and left rear corners, pointing up.
- Live Animals stickers: one high on each side and one high on the back, with the arrows pointing upward.
- Identification, food and water label (red and white): on top of the crate, just above the door. We give you this label with your pet's details, the route and the air waybill number.
- A temperament note: a short card on your pet's temperament, zip-tied to the front door, so handlers know whether your pet is shy, friendly or nervous of strangers.
Use extra clear tape if a label will not stay put. The airline may add its own labels at check-in. And check the crate is the right way up: a plastic kennel assembled upside down puts its ventilation in the lower half and will be turned away.
The feeding label also carries the shipper's declaration the airline needs: that your pet is at least 16 weeks old, its microchip number, and that the crate meets the airline's requirements — room to stand, sit and move naturally, a solid floor, food and water containers, absorbent bedding, handles for lifting and ventilation on all four sides. It tells handlers to give water every 12 hours, and food every 24 hours for pets over 16 weeks (every 12 hours for younger ones).
6. What travels on top of the crate
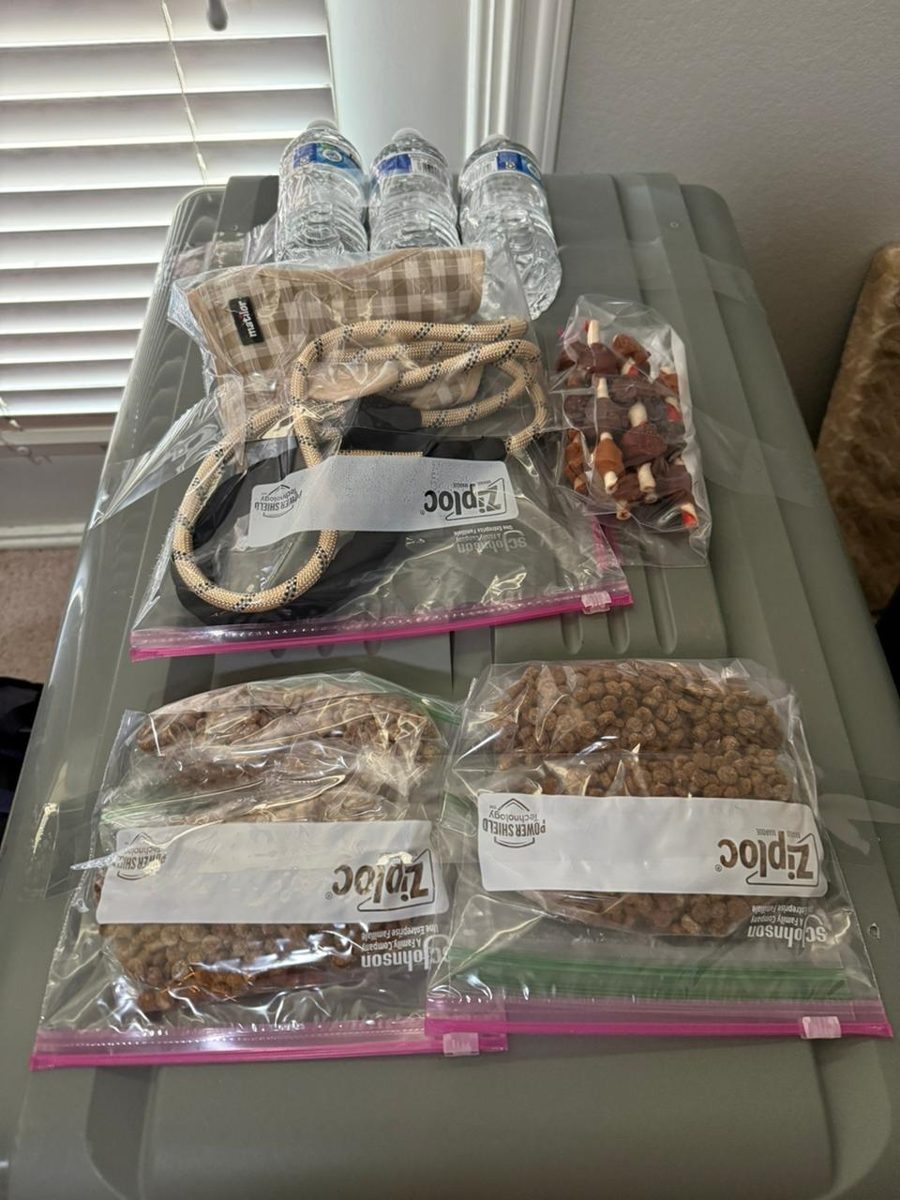
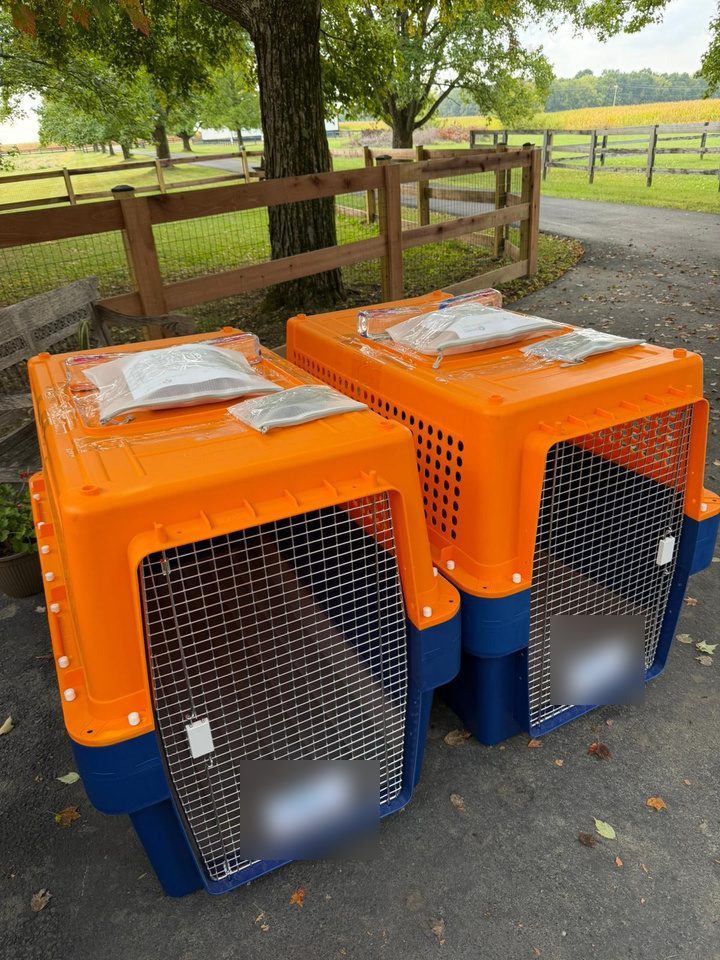
Tape these to the top of the crate, each in its own zip-lock bag:
- Food. Enough for a day, canned or kibble, so staff can feed your pet on a long journey or a delay. A bottle of water for refills is welcome too.
- Leash and collar. Most airlines take your pet out of the crate at check-in for security screening and measuring. Whoever takes your pet to the airport must have a way to hold them safely outside the crate. The airline has to give you a secure area to do this — ask for one if it is not offered.
- Documents. The health certificate and the other paperwork your destination requires. We tell you exactly what goes on the crate for your route.
7. What must not go in the crate
- High-sided beds
- Water containers that are not fixed to the door
- Toys that can break or be chewed apart — a solid chew is the most we would include
- The leash and harness (they go on top, not on your pet)
- Sedatives
8. Medication — and why we never sedate
If your pet takes medication, pack it in the original prescription bottle. If a dose is due during a layover, write clear instructions for the animal centre staff and tell us, so we can confirm the arrangement.
9. Get your pet used to the crate
The calmest travellers are pets that already think of the crate as their den. Start as soon as the crate arrives:
- Set it up at home with the door open, and put treats or a favourite toy inside. Let your pet go in on their own — never force them.
- Feed meals in the crate.
- Build up short stays with the door closed, first with you in the room, then longer.
- Keep it positive: never use the crate as a punishment.
On travel day, a long walk or play session a few hours before drop-off helps your pet rest. Give a light meal about four hours before departure, and water as normal until hand-over. At drop-off, keep your goodbye calm and cheerful — pets read our mood.
Final checklist
- Crate the right size, with metal nuts and bolts, the right way up, wheels removed.
- Two water containers zip-tied to the inside of the door, filled and frozen.
- Cardboard or puppy pad, and a familiar unwashed blanket.
- Ventilation on all four sides; mesh wherever a nose or paw fits through.
- This Way Up arrows, Live Animals stickers, the feeding label on top, the temperament note on the door.
- Food, leash and collar, and document copies in taped zip-lock bags on top.
- Door zip-tied at the corners, with spare zip ties for after the security check.
- No sedatives, no high-sided bed, no loose bowls.
Unsure about any of it? Send us photos of your set-up crate before travel day. We would much rather look at a photo the week before than find a problem at the cargo counter.